Weekend Fun: Origami Envelope Book
The library has many books on origami, the art of folding paper into three-dimensional objects, and there are many tutorials on the Internet as well. Have some book fun this weekend by making origami envelopes and turning them into a small book of treasures.
How to make an origami envelope:
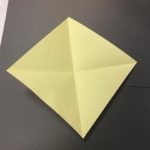
- Place a six-inch square of paper on the table with the corners at top and bottom, like a diamond.
- Fold the bottom corner up to meet the top one, and crease
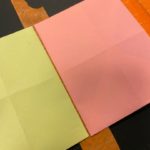
- Open it again and fold the left corner over to meet the right corner. Crease and open it again (see Photo 1 below) .
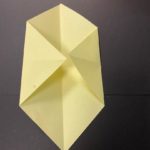
- Fold the left corner to the center point, and crease. TIP: The center point is where the two creases meet.
- Repeat with the right corner (see Photo 2 below).
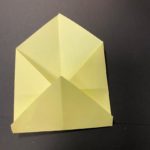
- Fold the bottom corner up to just past the center point, and crease (see Photo 3 below).
- Open again, and apply glue to the edges of that bottom flap.
- Fold up again and rub to help the glue seal.
- Fold the top down and crease to finish the envelope.
- Repeat as many times as you wish until you have enough envelopes to make the book.
How to make an envelope book:
- Place one envelope on the table.
- Tear a piece of removable tape (e.g. painter’s tape, frog tape, washi tape, or magic tape).
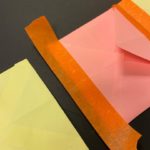
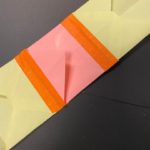
- Place the tape lengthwise along one edge of the envelope so that half of it is on the envelope and half is off (see Photo 4 below).
- Turn the envelope over and line another envelope next to the first one, leaving a very small gap between the two envelopes (see Photo 5 below).
- Test to make sure the envelopes can fold together and unfold easily, then place the envelopes with the taped side on the table.
- Tear another piece of removable tape and lay it over the gap between the two envelopes (see Photo 6 below).
- Repeat with as many envelopes as you wish, adding a new envelope to one of the ends.
- TIP: If you don’t have removable tape, make the book by gluing the flap of one envelope to the back of another, repeating until you have enough pages for the book.
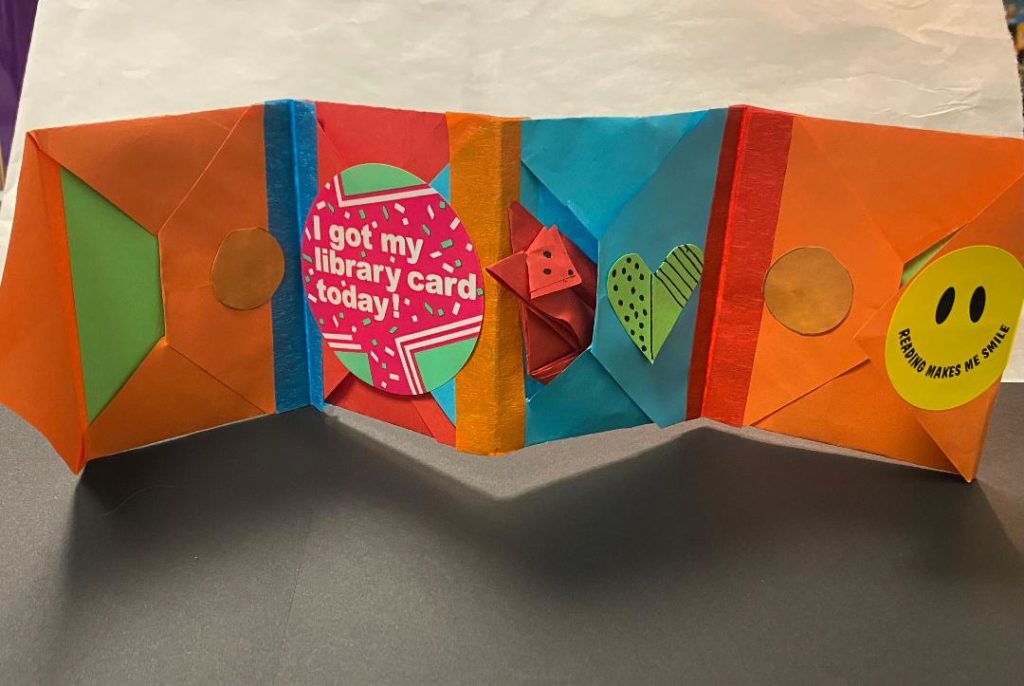
- Decorate the envelope pages with shapes cut out of scrap paper, pictures from magazines, stickers, or drawings.
- Use the envelope pages to hold small cards, origami animals, photos, etc.
- Decorate the pages with markers or crayons.