
King of the Wind by Marguerite Henry is a work of historical fiction that tells the story of an Arabian horse, Sham, who is born in Morocco at the end of Ramadan in the early 18th century. Sham is real and lived during that time period. The fictional part of the story is that of Sham’s caretaker, a young slave boy named Agba, who travels with Sham to France and then to England.
Marguerite Henry wrote many stories about horses and other animals that are based on true events in the past. She won the Newbery Medal for Excellence in American Children’s Literature for King of the Wind in 1949.
If you like horses and animals, check out some of Marguerite Henry’s books soon!
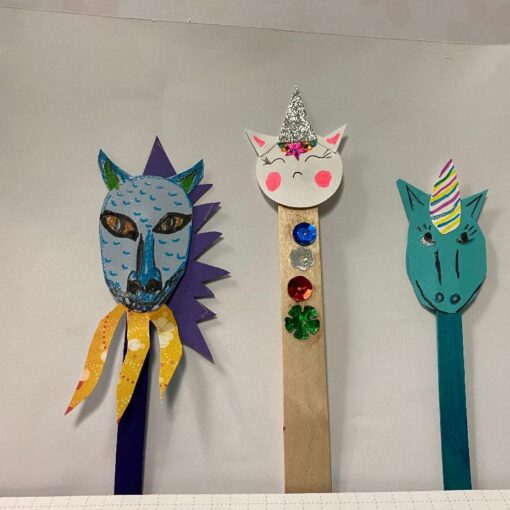
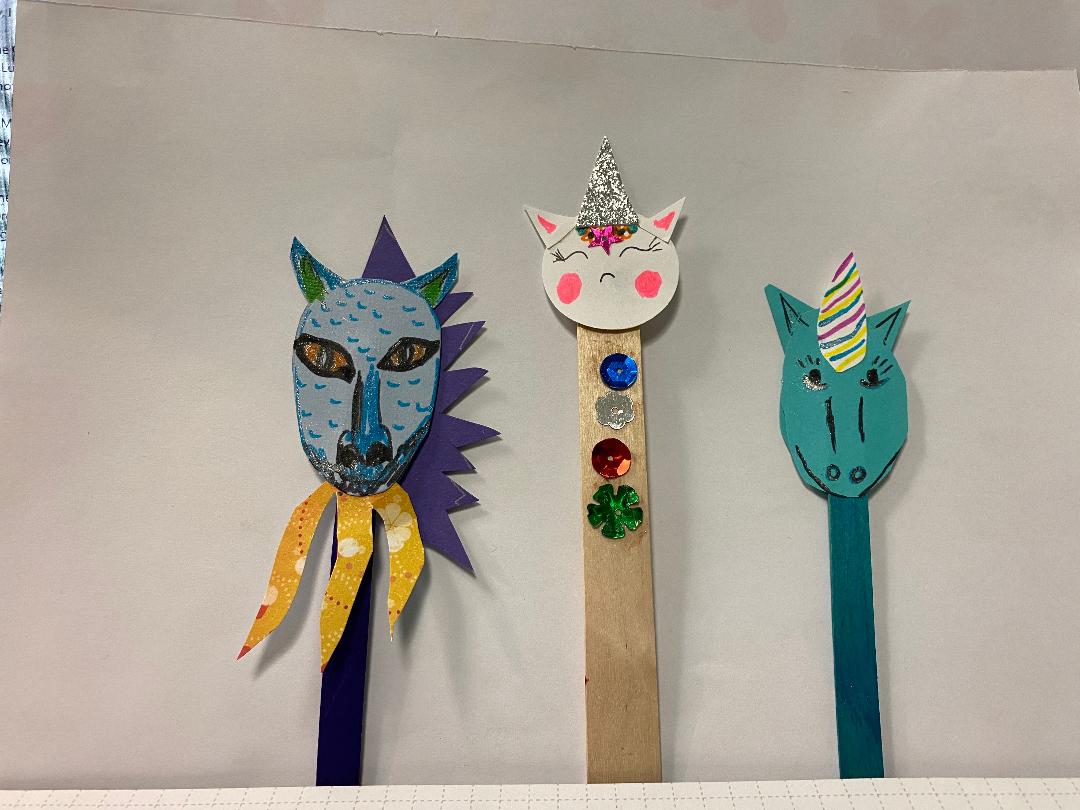
Go off the page! Make your own paper horses that can stand up, and then create scenes for them and act out stories.
Make a Paper Horse
What you need:
8 1/2 x 11 inch paper
scissors
black or brown paper scraps
white cardstock scrap approx. 2″ wide and the length of the horse
glue
markers, colored pencils, or crayons
What you do:
- Place the 8 1/2 x 11 inch paper in “landscape” orientation and fold it in half from left to right. TIP: If you pick up one of the horse kits at the Children’s Desk in the Main Library, we’ve done that for you.
- With the fold at your left, cut a square out of the bottom center, leaving about 1/2″ on either side of it. TIP: Save these scraps.
- Cut out a rectangle at the top right (about 3 inches from the top, cut across from right to left but don’t go all the way – stop about a half inch from the fold – and then cut upwards to the edge.)
- Open the fold and fold the neck down and out so that it forms the horse’s head. TIP: Make yours look like the photo.
- Take one of the scraps you saved and cut out two triangles for the horse’s ears.
- Glue the triangles in place inside the back of the head so that they stick up like ears.
- Cut two rectangles out of the black or brown cardstock.
- Glue one of them in place between the ears and fringe it with scissors.
- Glue the other one in place at the tail and fringe it.
- Cut small pieces of matching black or brown paper to be the horse’s hooves and glue them in place.
- Fold the white cardstock scrap in half lengthwise.
- With the fold on top, draw grass and/or flowers to be the meadow where the horse stands.
- Glue the horse’s feet to the meadow.
- TIP: Older students may want to search the Internet for horse photos (we like Google Images – just type in HORSE BREEDS). Make horses that match different breeds by adding details with paint, sponges, acrylic pencils, and more. Parents: This will help your child develop critical thinking skills, e.g. how can you make the horse’s tail look like the Lipizzaner horse, or make the feet and legs like a Belgian Heavy Draught Horse?
Set up some scenes for your horse – you can make a barn or a stable out of a shoebox or shipping carton. Use some building toys to make fences. Make lots of horses in different sizes by folding smaller rectangles of paper, and then make up your own horse stories like Marguerite Henry!
Our horse idea came from a You Tube video in which the artist makes a rocking horse. You can watch that video here if you need a little help, but be creative and make your horses your own way:

