
Weekend Fun: Tangled Turkey!
Roasted turkey is a traditional Thanksgiving Day meal in the U.S. – but not all turkeys are for eating! Whether you celebrate with traditional American cuisine or comfort foods from your own culture, a turkey can still be part of your harvest festival – read a nonfiction book about wild turkeys or find a picture book that features a turkey.
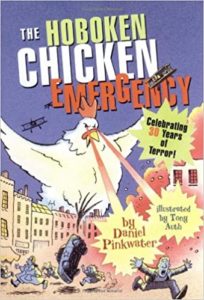
Extend the fun by reading The Hoboken Chicken Emergency by Daniel Pinkwater. This classic was first published in 1977 and tells the story of a boy who is sent to buy a turkey for Thanksgiving dinner and comes back with a 266-pound chicken instead! It’s a great read-aloud early chapter book and available in the Library’s collection as well as from online bookstores. If you search online, you may find the made-for-television movie to watch for free as well.
Make a turkey decoration for your home! You can make one for each guest at your holiday meal.
Make a Tangled Turkey!
What you need:
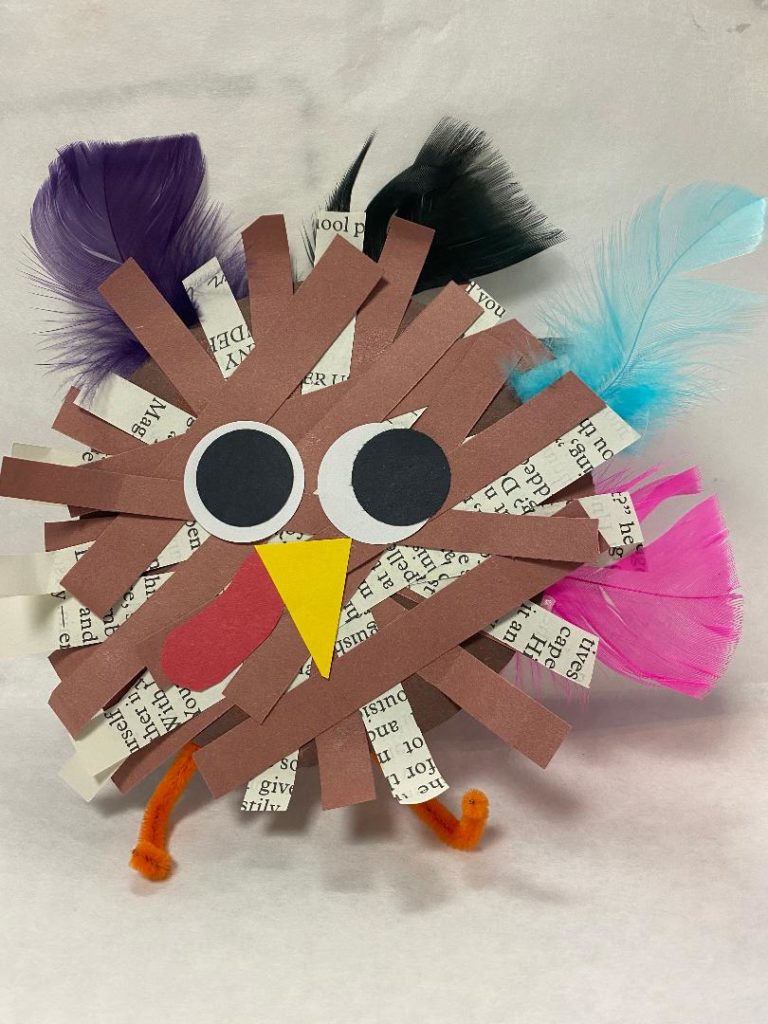
- 1 large circle approx. 4 1/2 inches in an autumn color
- Approx. 25 assorted paper strips in fall colors
- Assorted paper strips cut from old magazines or books beyond repair
- 1/2 piece of pipe cleaner or chenille stem
- 2 small white circles (approx. 1 inch)
- 2 slightly smaller black circles
- 1 scrap yellow paper
- 1 scrap red paper
- A few feathers
- Glue stick
- Scissors
What you do:
- Trace a round object and cut out the circle. If you want a “turkey” color, use brown or deep purple or black or gray but any autumn color will look great – or you can use white paper and color it with crayons. This will be the turkey’s body.
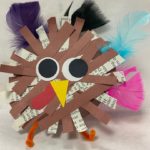
- Apply glue to the paper strips and layer them, one at a time, in a criss-cross manner across the large circle. We used 25 paper strips ranging from 3 to 6 inches long and a half inch wide. These are the turkey’s body feathers. (see photo below)
- Glue the black circles inside the white ones for eyes, and then glue them in the middle of the body.
- Cut a triangle out of the yellow scrap and glue it beneath the eyes for the beak.
- Cut any small shape out of the red scrap and glue it beneath the beak – this is the turkey’s wattle.
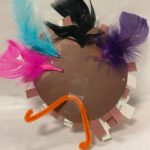
- Bend the pipe cleaner in half, bend up each tip to make legs and feet and tape it to the back. (see below)
- Put a generous spot of glue around the top of the circle (still working on the back) and apply the feathers.

