
Tail of the Week: Beaver Tail!
We’ve looked at many animal tails and tales this summer, and for our last Tail of the Week we found one that is unique: The Beaver Tail!
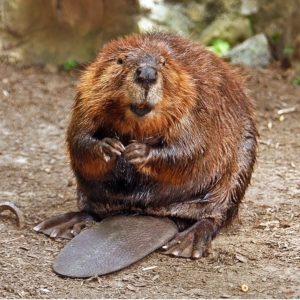
Beavers are rodents, like rabbits and groundhogs, and they are nocturnal, which means they sleep during the day and are awake at night. The beaver has a unique tail that is broad and flat. If you know that beavers build dams out of sticks and mud to make ponds, you might think that the broad, flat tail is perfect for slapping the mud into place – but that’s not what beavers do with their tails. They use their hand-like paws to shape the mud in their dams. Their tails serve to help them balance when swimming and to sit upright on land. The beaver tail also sounds an alarm when there is danger by slapping hard against the water – almost like hitting a drum.
If you want to read more about beavers, look for Beavers by Moira Rose Donahue or Beaver Dams by Nancy Furstinger. At Home with the Beaver by Dorothy Hinshaw Patent includes lots of photos if you want to get a better look.
For storybook fun, check out Five Busy Beavers by Stella Partheniou Grasso: “Five busy beavers building up a dam, closing up the river where the salmon swam …”
Or try Dude! by Aaron Reynolds and Dan Santat, which features the friendship between a platypus and a beaver who want to go surfing.
Extend the Story!
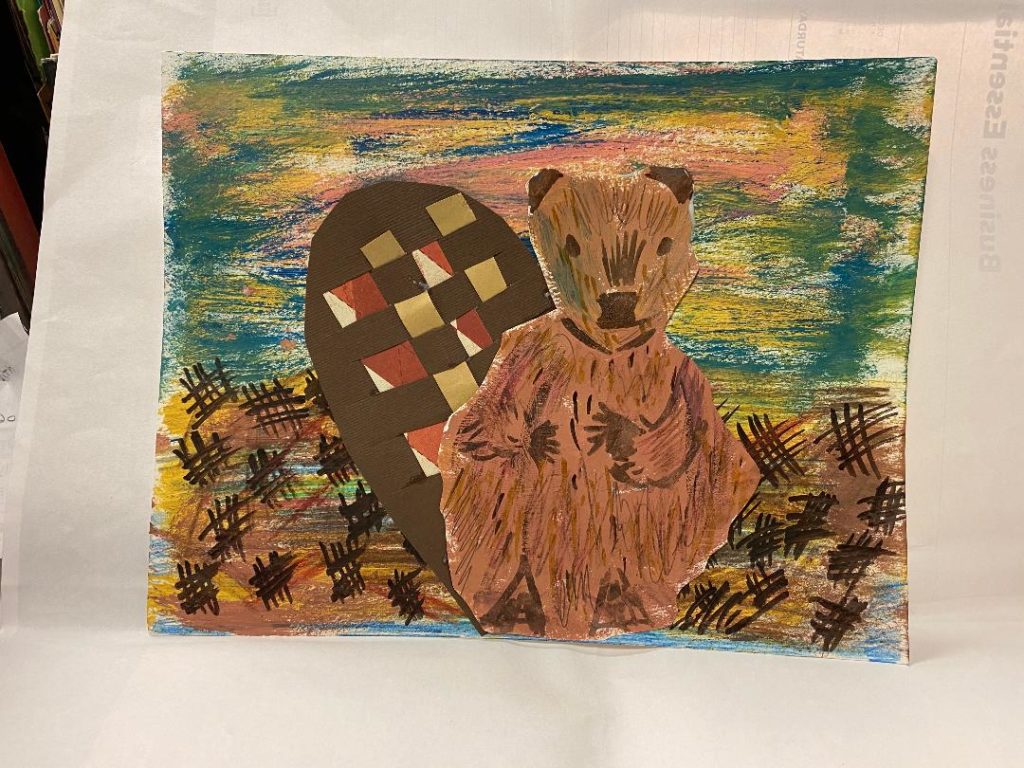
Make a mixed media beaver painting like the one above! Mixed media is about using several kinds of art supplies to create a picture. It can be realistic or abstract, and may contain paint, crayons, pencils, markers, and even collage. Try your hand at making a mixed media art piece featuring a beaver.
Mixed Media Beaver Painting
What you need:
- Sturdy paper, cardboard or canvas board for the background
- Cardstock or watercolor paper for the beaver
- Scrapbook paper for the tail
- Paintbrushes
- Scissors
- Paint (earth tones preferred)
- Markers
- Crayons
- Pencils – assorted colors
- White glue
What you do
For the beaver:
- Use a brown, dark gray, or amber paint to paint a part circle/part oval blob on the cardstock or watercolor paper. TIP: If you don’t have sturdy paper, use thin cardboard from the recycling bin.
- Using the same colors, paint a rouch heart shape at the top of the first shape to form the beaver’s head. TIP: Your shapes don’t have to be perfect, and the brush strokes can look like the beaver’s fur.
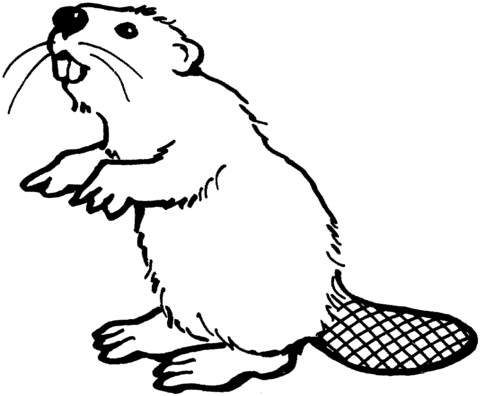
- Add short strokes of paint in a few different shades or other earth tone colors to give the fur dimension and shading, and then do it again using colored pencils and crayons. Don’t worry about mistakes – if you don’t like something, just paint over it. Look at the photo of a beaver below to help you see the shapes and colors. That beaver’s fur is brown, gray, red, orange, tan, and white. Do you see any other colors? If you prefer, use the beaver coloring page to get an outline for your beaver.
For the Background:
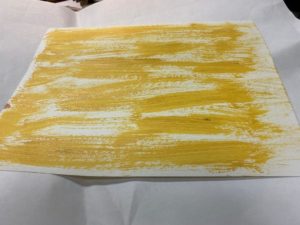
While the paint dries, work on the background. Use a large brush to lightly brush a pale color over the sturdy paper, cardboard or canvas board that will be your background. Leave lots of space showing through on the paper.
With the same wide brush – don’t even clean it! – dip into twilight and sunset colors like lavender, pink, yellow, and dusky blues. Don’t mix the colors, but let the brush mix them sparingly on the paper as you paint. Then wipe the brush and add earthy colors like brown, tan, and gray near the bottom part of the paper. Let the paint dry.
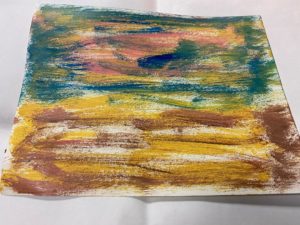
Once the paint is dry, use colored pencils and crayons to fill in some of the spaces. The more shades of color you use, the more dimension you will give the background. Use a dark brown marker to add short strokes and marks over the bottom portion to indicate the beaver dam (see main photo above for ideas).
For the Beaver’s Tail:
Cut a beaver-tailed shape our of dark gray or brown paper. Fold it in half (but don’t crease it) and make snips in the center of the tail.
Cut strips of patterned scrapbook paper (or paper from the recycling bin) and weave them through the slits. Alternate start from underneath the tail for the first one, then start by weaving from the top, and repeat with as many strips as will fit. The sample in the main photo above used four strips. Cut off any pieces that hang beyond the tail.
To Assemble the Finished Piece:
Use white glue to attach the tail and the beaver to the background.
Extend the story even more with a dessert treat! Beaver Tails!
Make a favorite Canadian dessert together: Beaver Tails! It’s basically a fried dough shaped flat like a beaver tail and topped with melted chocolate, melted peanut butter, candies, bananas, cinnamon, sugar, and more! If your family has a favorite kind of fried dough, you can use that recipe, and if you don’t want to fry or you can bake the dough on a cookie sheet lined with parchment paper at 350 degrees for approximately 15 minutes.
Here are two links to videos that show how easy it is to make, but if you prefer, you can purchase ready-made bread dough or biscuits to use as the base.
Recipe for Homemade Beaver Tails
https://www.youtube.com/watch?v=0MsQQv7_AuQ
Another Version of Beaver Tails (with some experiments included)

